

Enable the CDN service
To enable the CDN service for all domains
- Select the Websites menu option from the Dashboard sidebar.
- Click on your website’s name to go to the website overview.
- Verify the environment to apply the change, by checking out the currently selected environment in the navigation bar. CDN service can be enabled for the Production environment only.
- Click on the Settings menu.
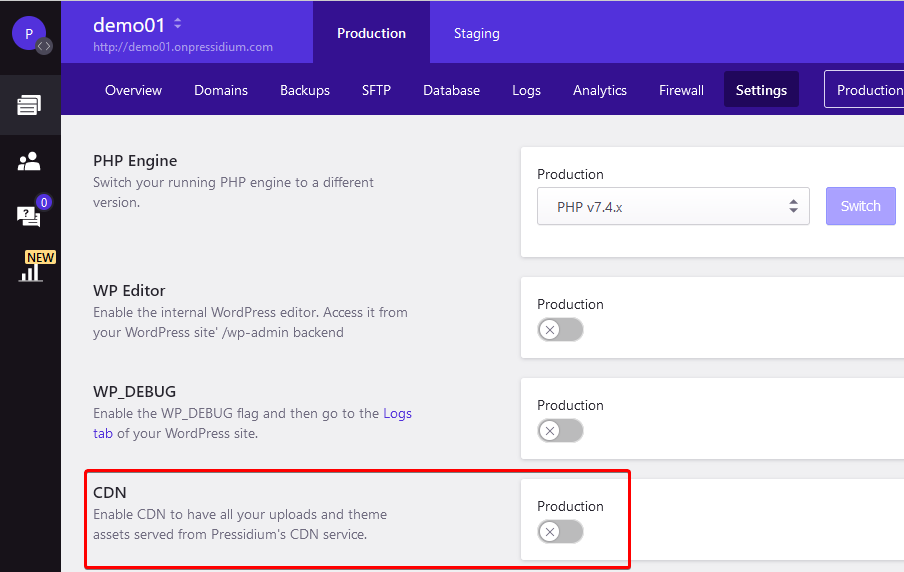
Then switch on CDN in the CDN section.
Click Enable CDN to enable CDN for all non-redirect domains in the website.
To enable the CDN service for a single domain
You can enable, or disable, the CDN service for a single domain easily via the Dashboard.
- Select the Websites menu option from the Dashboard sidebar.
- Click on your website’s name to go to the website overview.
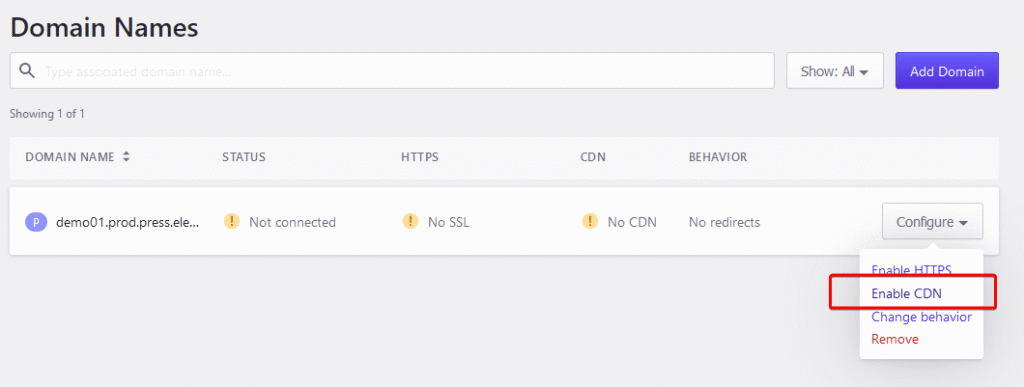
- Click Domains to view all the domains associated with the website.
- Locate your domain in the list
- Click Configure -> Enable CDN to enable CDN for this domain.
Need help?
If the CDN service cannot be enabled, or static assets do not load correctly after enabling it, contact our Support team before changing DNS, cache, or plugin settings.
Where to go next
- Optimise website delivery via CDN if you want a broader overview of how CDN improves delivery.
- Review how page cache works to understand how cached pages and static assets work together.
- Identify cache behavior using HTTP headers if you need to verify whether content is being served from cache.
- Clear your WordPress site cache if CDN or cached content does not update after a change.
Was this article helpful?