

Initialize your Staging environment
A Staging environment is a great way to test out changes in your website without affecting the operation of your main website. Example of changes that can be easily performed on a Staging environment include (but are not limited to):
- Switching to a new PHP runtime version and testing plugin and theme compatibility.
- Doing a test WordPress core upgrade.
- Upgrading and testing a new plugin or theme version.
Using the Pressidium Dashboard
To create a staging environment, follow these steps:
- Select the Websites menu option from the Dashboard sidebar.
- Click on your website’s name to go to the website overview.
- Click Staging in the navigation bar.
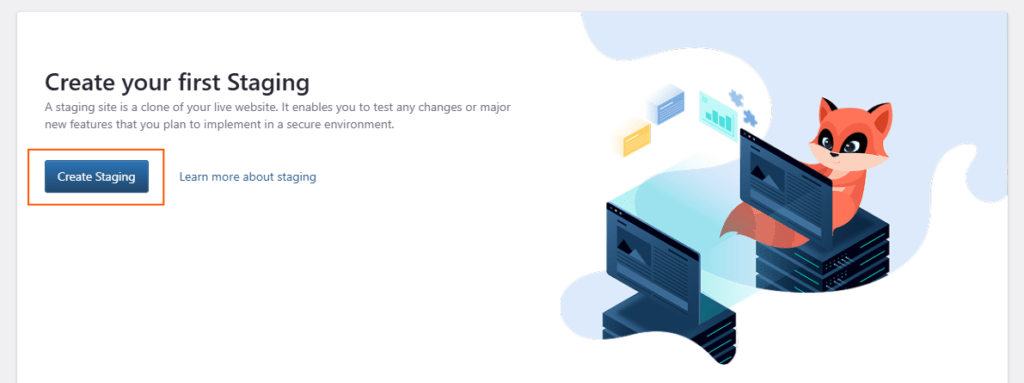
Click Create Staging to initialize the staging environment creation process. You can monitor the operation by following the on-screen progress indicator or by inspecting the Activity In Progress panel in the Sidebar.
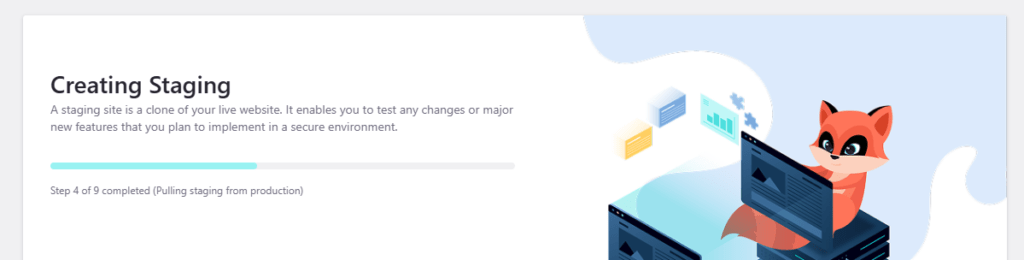
Once the process is completed you will receive a Dashboard Notification and you can access your new Staging environment!
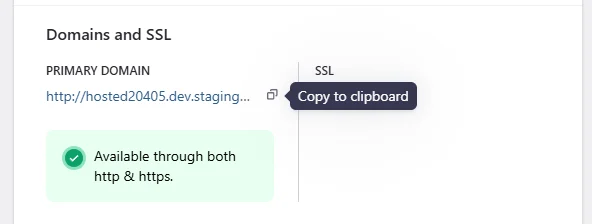
Staging websites by default are created with a URL on the .dev.onpressidium.com domain. You can get your staging environment URL by looking at the Primary Domain value in the Domains and SSL section.
Need help?
If staging does not initialize, or you are not sure whether creating staging will affect production, contact our Support team before trying again.
Where to go next
- Create an instant backup before making changes you may need to roll back.
- Pull a copy from production if you need staging to match the current production site.
- Deploy staging to production when tested staging changes are ready to go live.
- Integrate a repository with your WordPress site if you want to deploy code through Git.
Was this article helpful?