

Create a new hosted website
Prerequisites
Before creating your WordPress site, make sure you have:
- EDGE Account: A created and verified Pressidium EDGE account
- Domain DNS Access: Access to your domain’s DNS settings, if you plan to connect a custom domain after creating the site
- WordPress Admin Details: The username, password, and email address you want to use for the new WordPress admin user
Step 1: Access the wizard
- Log in to your Pressidium EDGE dashboard
- On the homepage, go to the Hosting Websites section and click “New Website”.
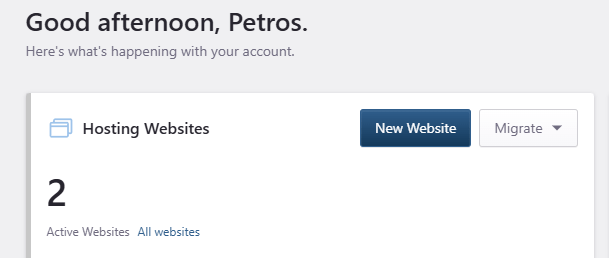
You’ll see the related wizard
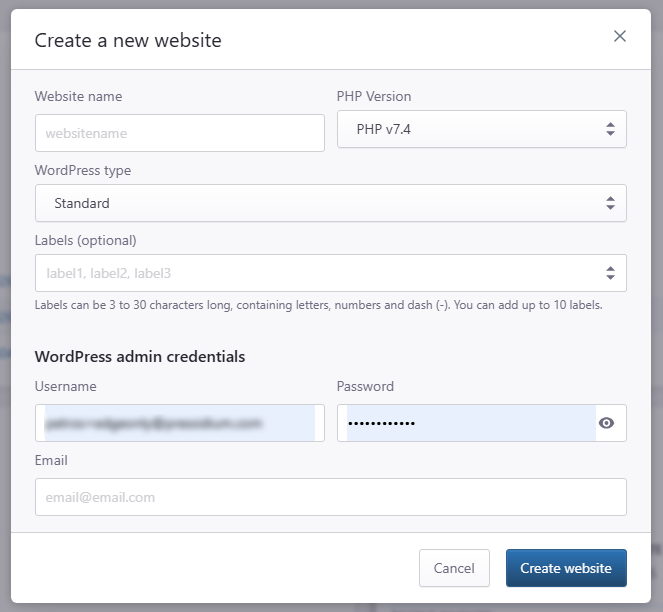
Step 2: Enter your website information
- In Website name, enter a unique name for the site. Use a clear internal name, for example
client-site-productionorbrandname-edge. - In PHP Version, select the PHP version for the site. Use the version required by the WordPress site, theme, and plugins.
- In WordPress type, select the type of WordPress installation.
- Optional: In Labels, add labels to organize the website. Labels can help you group sites by client, environment, team, or project.
- Under WordPress admin credentials, enter:
- Username
- Password
- Click Create website.
The dashboard creates the WordPress site and prepares it for configuration.
Where to go next
- Add a domain to your website.
- Set up your domain and DNS records after the new site is created and ready to receive traffic.
- Enable and manage SSL after the domain points to Pressidium.
- Manage SFTP users if developers need file access to the new site.
- Create an instant backup before making major changes to the new site.
Was this article helpful?