

Add a domain redirect
This guide explains how to add a redirect domain to an existing WordPress site in the Pressidium Dashboard.
Use this when you already have a primary domain, such as mydomain.com, and you want another domain or variant, such as www.mydomain.com, to redirect to it.
This guide applies to websites provisioned in Pressidium’s EDGE / NextGen Global network. For websites provisioned in the Pressidium Advanced Network, follow the Advanced Network guide: Add a domain and update DNS records.
When to use
Use a domain redirect when visitors should be sent from one domain to another domain on the same website.
For example, you can redirect:
www.mydomain.comtomydomain.commyredirectdomain.comtomydomain.com- a secondary brand domain to the primary website domain
A redirect domain sends visitors to the target domain using a <a href="https://developer.mozilla.org/en-US/docs/Web/HTTP/Status/301">301 Permanent Redirect</a>.
Prerequisites
Before you add a redirect domain:
- Add the primary domain to the website first.
- Confirm that you have access to update DNS records for the redirect domain.
- Decide whether the redirect domain needs SSL.
- If you plan to use a free Let’s Encrypt certificate, make sure the DNS records point to Pressidium before certificate issuance.
Add a domain redirect
- Select Websites from the Dashboard sidebar.
- Click the website you want to manage.
- Go to Domains.
- Click Add to open the New Domain screen.
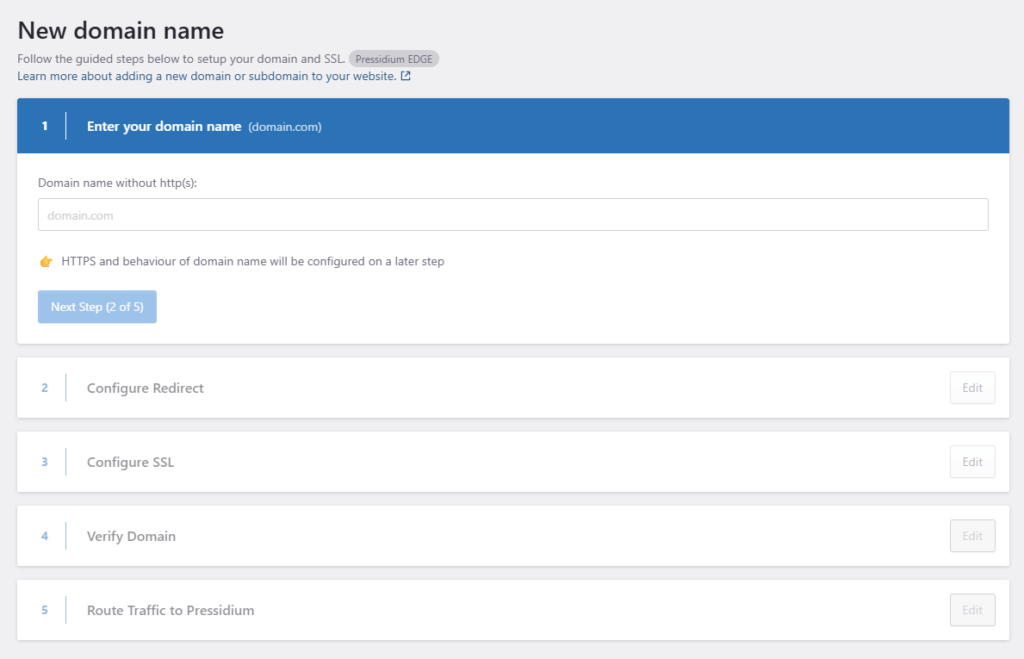
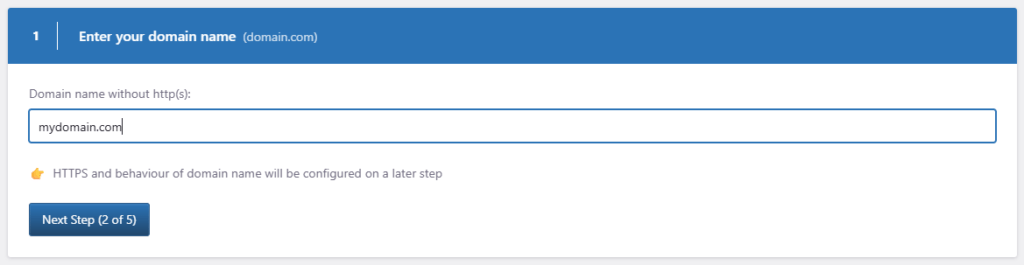
In Step 1, enter the domain you want to redirect.
Example: www.mydomain.com or myredirectdomain.com.
In Step 2, configure the required DNS records for the domain you are adding. For the full DNS setup process, see Add a domain and update DNS records.
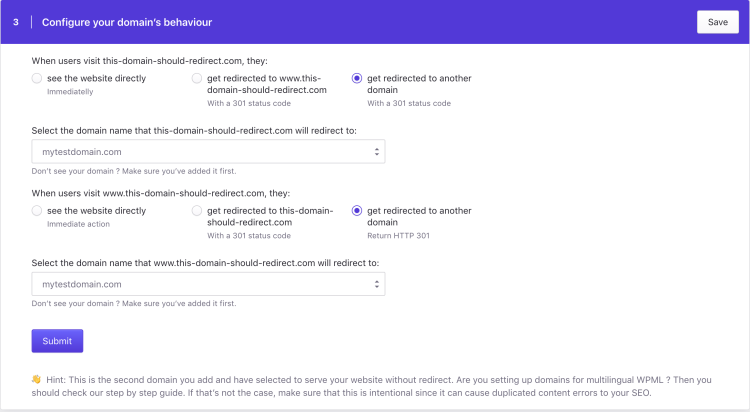
In Step 3, select Redirect to another domain.
Choose the existing domain that should receive the redirected traffic.
If the wizard also asks about the www variant, choose whether that variant should also redirect to the same target domain.
In Step 4, choose whether to enable SSL for the redirect domain.
You can use a free Let’s Encrypt certificate generated by the platform, or a custom certificate uploaded by you. To review the SSL setup process, see Install a Let’s Encrypt certificate.
- Click Submit.
The Dashboard starts provisioning the redirect domain. You can monitor the progress from the Activity in Progress panel. A Dashboard notification appears when provisioning is complete.
Verification
After provisioning is complete:
- Open the redirect domain in a browser.
- Confirm that it redirects to the selected target domain.
- Check that the final URL uses HTTPS if SSL was enabled.
- Confirm that the redirect returns a
301 Permanent Redirect.
Need help?
If the redirect does not work as expected, or you are not sure whether to redirect a domain or map it to the site, contact our Support team before changing DNS or redirect settings.
Where to go next
- Add or connect a domain before creating redirects: Add a domain and update DNS records.
- Map a subdomain instead of redirecting it: Map a subdomain.
- Review all domains connected to the website: Domains page.
- Enable SSL for a domain after DNS is configured: Install a Let’s Encrypt certificate.
Was this article helpful?